

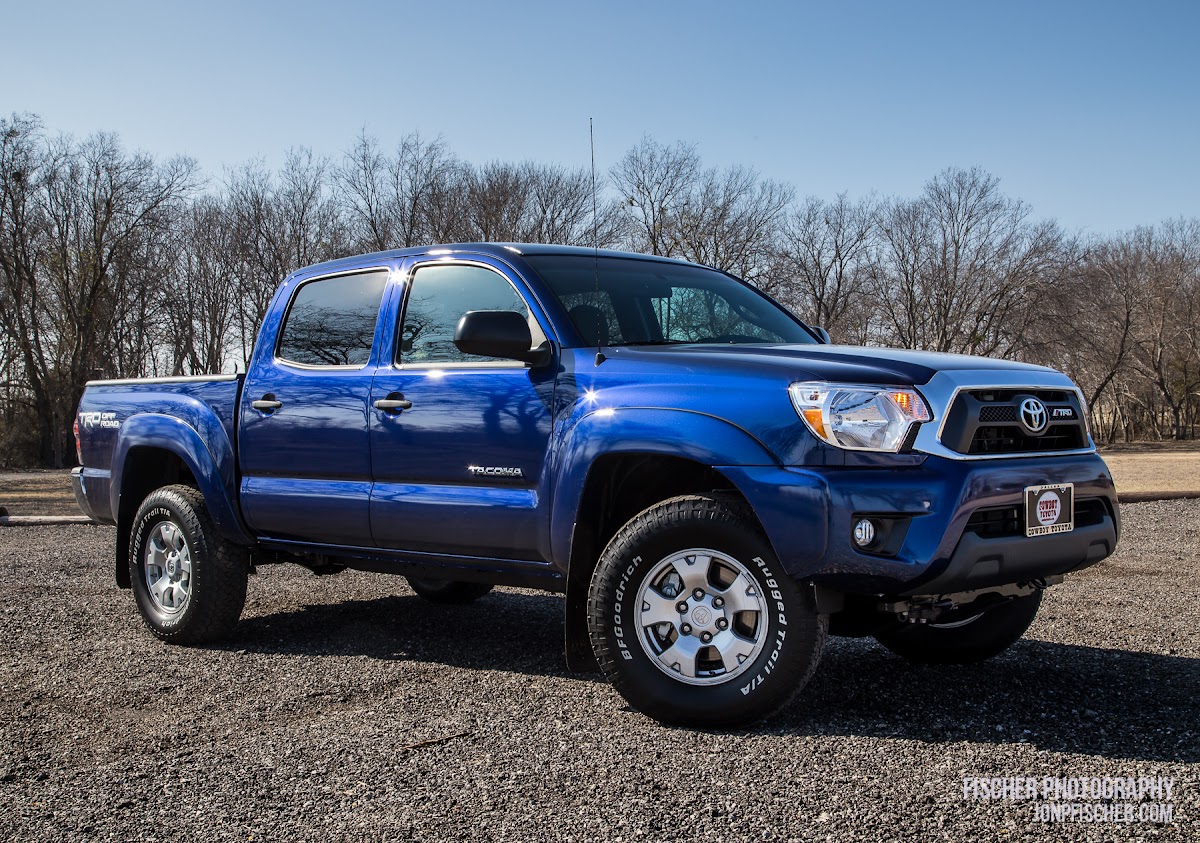
I started in photography in early 2012, by 2013 I was taking out of town and out of state photography trips on a fairly regular basis. As my camera kit grew, and I rediscovered my interest in camping as well, it soon became obvious that my current truck just wasn’t fitting my needs any longer. The 2003 GMC Sierra was a great truck, but a regular cab truck and camera gear just didn’t mix well. I was piling up my passenger seat with the camera bags, making taking another person along for the adventure a non-starter. Also it was a 2-wheel drive truck, at the time I’d wanted a 4×4, but the cost just wasn’t able to be justified. However after nearly getting stuck a few times in less than difficult terrain, or turning back before I reached my intended destination. By early 2015 it was time for a change. The Toyota Tacoma was already on my radar after a coworker bought one. After extensive research, I finally settled on a brand new 2015 Tacoma 4-door double cab 4wd, in a deep rich metallic blue, with their TRD Off-Road package. It provided me the extra interior space needed for an ever growing collection of camera gear, still had enough bed space for camp gear, or my bike for this weekends I wasn’t out doing photography.
After spending what would have been a large chunk of my travel funds on the down payment on the truck I decided that my first big trip of 2015 would be a road trip, in my brand new truck. A 10 day photography and camping trip through Texas, stopping at a number of State Parks in a region known as the Texas Hill Country. The trip wouldn’t take me far off the beaten path, but did help begin plotting the path that all my future plans and additions to the truck would take. The Tacoma has good open road manners on the highways and interstates, compared to say a short wheelbase Jeep with big mud tires, but way more off road capability than my old GMC. The plan would be to continue to hone the off road abilities without losing that cross country road trip ability as I planned to take it far beyond the borders of the state.
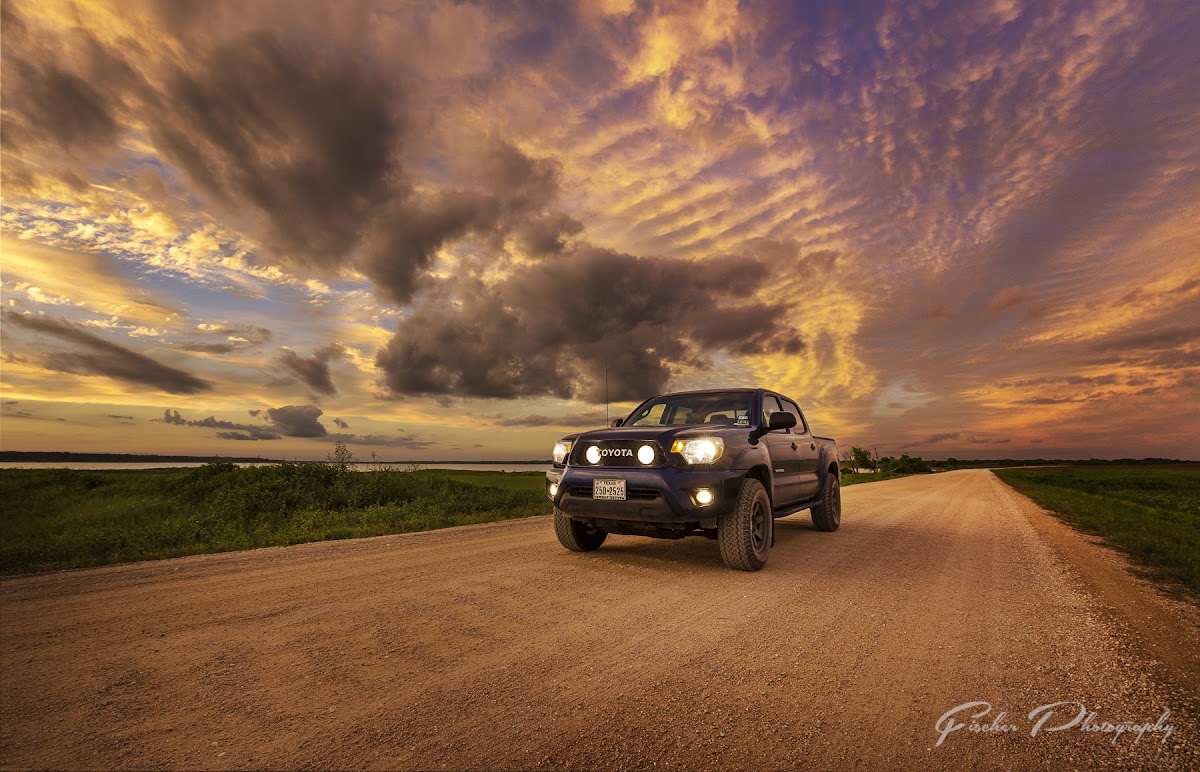
One thing that did need rather immediate attention was the lighting. While fine for straight major highways, the low beams left a bit to be desired on twisty hill country highways and dusty gravel roads that I often encountered. Swapping out the bulbs for high quality Philips bulbs helped quite a bit, but I was soon looking at supplemental off road and driving light options for late night use. I opted to go with a set of PIAA 520 ATP pattern off road lights behind the grill of the truck. While these are Off-Road legal only, I love the classic round looks of the halogen lights sitting in behind the custom mesh grill. Later on when more updated electronics would be added I’d rewire the entire setup into a custom fuse and relay panel under the hood and setup switches into the overhead console.
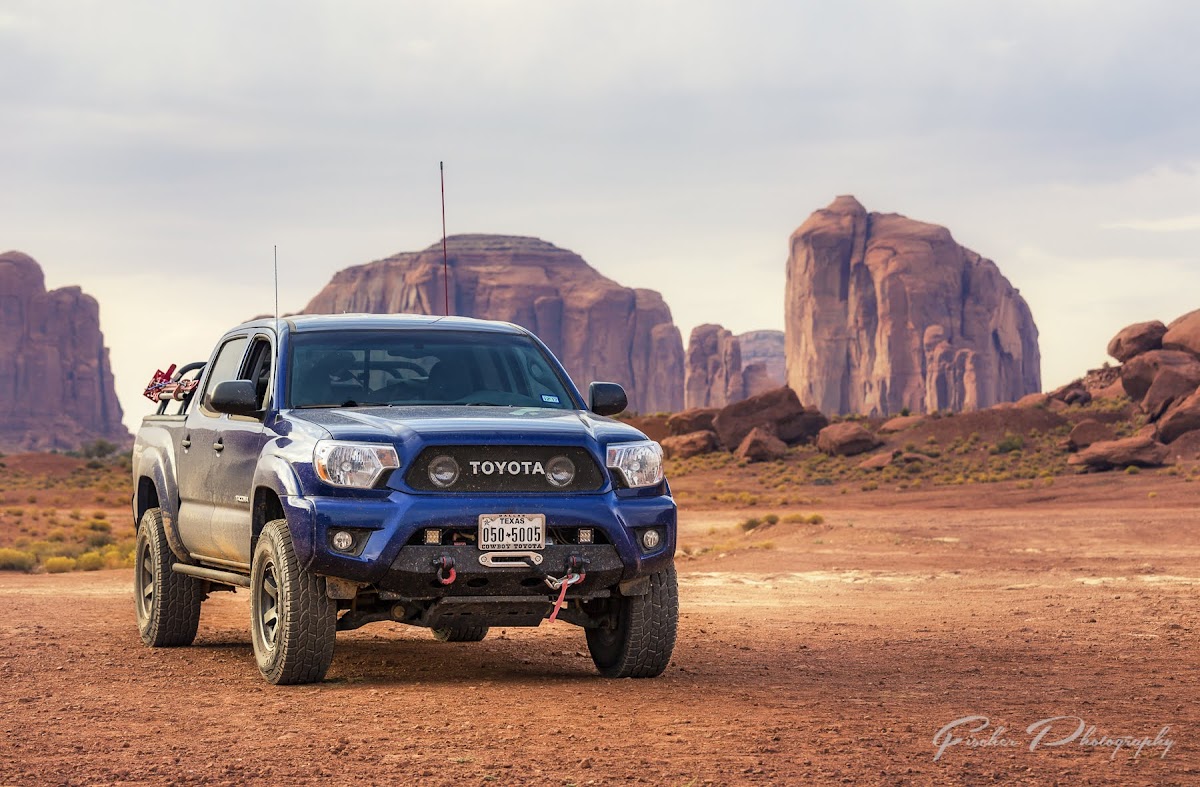
Since that first trip the truck has undergone a slow but steady transformation. The biggest changes coming in early 2017 ahead of another major road trip, this time to Arizona to meet up with an amazing photographer, Mark Metternich, for a photography workshop. When debating between flying to Arizona and renting a 4wd vehicle or taking the truck and putting that money into making the truck even more of the go-anywhere photography adventure truck I wanted for the long term the decision was easy. By the time I pointed the truck to the western sky for that trip I had added a moderate 2.5″ lift, heavy duty Cooper AT3 C-load tires, steel plate bumpers front and rear, a much more durable front skid plate, as well as a set of bed bars to mount an off road jack and other accessories. The truck proved to be the most capable vehicle in the group by a long margin as most of the other participants in the workshop had to rely on rental 4wd options. While that limit to some degree just how rough of terrain we’d traverse, I felt good knowing that I would not be the limiting factor in those decisions.
At the end of the workshop, with a couple more days to kill before the long drive back I decided to give the truck a real test with a drive out to White Pocket in Arizona. This amazing place is ‘guarded’ by miles of deep soft powdery sand that can quickly trap cars quickly. I aired the tires down to a reasonable 20psi, engaged 4wd low range and plowed on. Nothing technical was found, but the sand was as soft as advertised, but by keeping the momentum and RPM’s up I had no problems getting through the worst sections. It felt great to have the truck well up to the task for which I had intended for it.
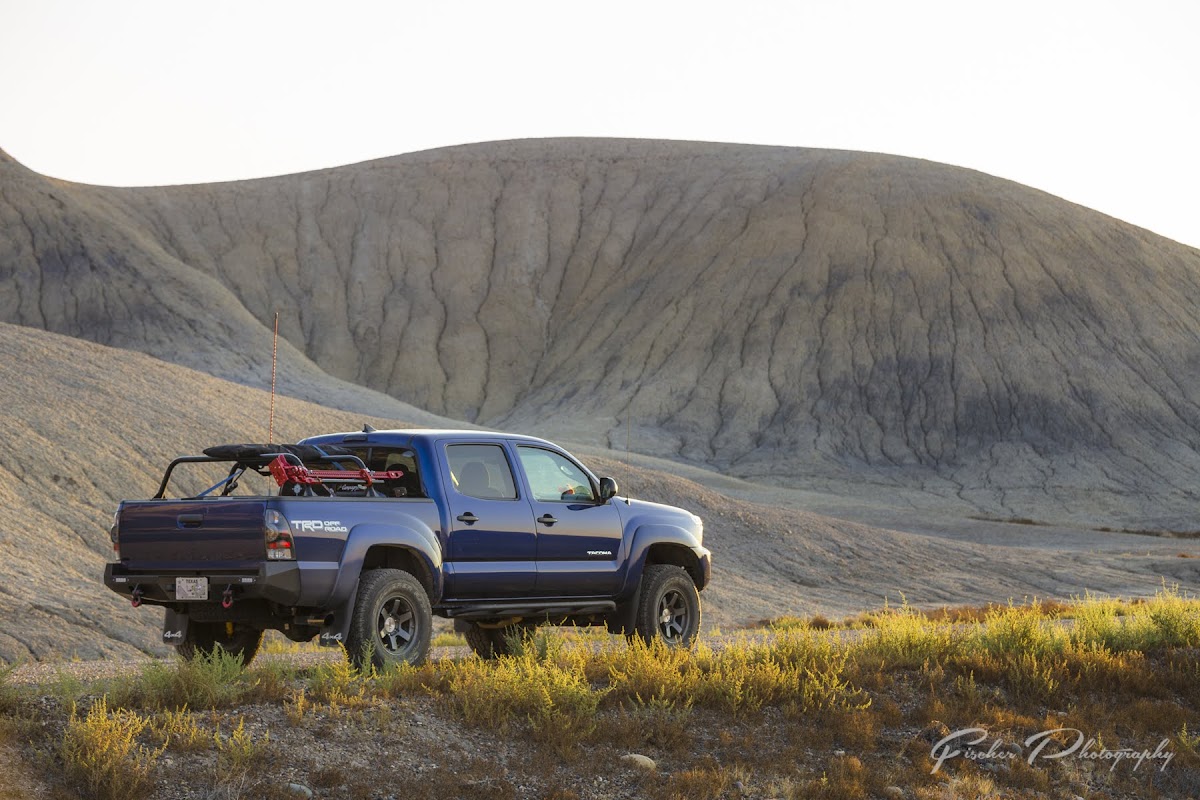
After my Arizona trip I went a step beyond the simple bed bars I had originally purchased in a bit of a rush, now sporting a mid-level rack system by Rago Fab, a Texas based Toyota specialty fab shop, and a Yakima MegaWarrior basket to nearly double the storage space of the bed. On the sides of the rack I’ve mounted a 4 gallon Rotopax fuel tank, just in case my enthusiasm for finding a unique location out paces my fuel tank’s supply, and on the other side tools for getting myself back to civilization should my enthusiasm for finding a unique location out paces my ability to keep the truck from being stuck.
Exterior:
The exterior changes started quickly, only a few weeks after getting the truck, Discount Tire threw a ‘Valentines Day’ sale, why a tire shop throws sales on valentines day, don’t ask me, but I took advantage of the opportunity to start the customization of the truck with a set of Level8 MK6 wheels, which happen to fit the Toyota TRD center caps perfectly. They’ve fooled at least one Toyota service adviser thinking the wheels were Toyota’s own. From there the color match grill was next to allow for the PIAA lights mentioned above. More recent adds have been the Rago Fab bed rack setup and basket. The pair allows me to fit a 4 gallon Rotopax, axe, shovel, and hi-lift jack all on the outsides of the bed, leaving far more room for cargo in both the bed and basket. The most recent project has been adding the Total Chaos bed stiffeners, basically steel L-shaped braces that fit at the back of the bed. The Tacoma’s inner bed is a carbon-polymer plastic, and with additional weight on the bedsides it’s fairly common for the bedsides to flare outwards. These brackets add additional structure to the ends of the bed to prevent this. They also provide additional tie down rings and mounts for a CB antenna.
- Wheels: Level 8 MK6 in gunmetal – TRD Center caps
- Tires: Cooper Discoverer AT3 265/75r16 C-Load
- Color Match Grill: ECG Fabrication w/ custom order small mesh, TOYOTA emblem.
- Exhaust: Gibson Muffler and Stainless tip, stock tubing
- Rago Fab Bed Corner Brackets w/ CB antenna and LED pod
- Rago Fab Mid-Level Rugged Rack with side and top panels
- Yakima MegaWarrior cargo basket mounted on top of Rago Fab rack
- Total Chaos bed stiffeners – CB antenna mount to be relocated to this location for better clearance with rack and basket.
Suspension:
There’s two ways to add a lift to a truck that’s going to see off-road use, the right way and the wrong way. I opted for the right way. A true suspension lift, where new springs themselves (and shocks designed for said longer springs) create the additional ride height. While I would have liked to spend a ton more coin on a setup for King or some of the other high-end brands, I opted for tried and true OME parts that have done great thus far. While the Dakar springs, even the newer versions, are still prone to a few creaks and squeaks from time to time, I’ve been very happy overall. The JBA upper control arms were also added to ensure I was able to get a good alignment for retaining on-road driving quality.
- Front Springs: OME 885x w/ OME Nitrochargers
- Rear Springs: OME Dakar (2017 Revised version) removed 3rd leaf, w/ OME Nitrochargers
- Upper Control Arms: JBA Standard for Lifted Tacoma
Lighting:
For the late nights of going into or back out of back roads for astrophotography, I’ve added a pair of auxiliary lighting options up front with a pair of PIAA 520 halogen lights behind the grill, and a pair of Rigid D2 driving lights down in the US Off-road front bumper. In back, nestled into the Brute Force Fab is a set of Rigid SR-Q diffused backup lights. These are multi-functional. First it makes it really really obvious when I put the truck in reverse, no one should make the mistake of backing up at the same time as I do, the second is that with a 3-way switch in the cab I can turn the lights on at any time, which makes for great soft light to setup camp by when arriving at a campsite after dark. I’m planning to add additional lighting within and on the rack in the coming year, making it easier to see and organize the gear within the bed of the truck at night as well.
- Tail Lights: DEPO Blacked out Tails, LED Reverse Bulbs
- 3rd Brake: Smoked Red lens with Red LED bulb
- Bed Lights: MattGecko LED kit w/ wireless remote, AuxBeam LED pod mounted in front corner. (new lighting mounted in rack planned for 2019)
- Aux Driving Lights: PIAA 520 ATP mounted on BAMF mount, Osram Nightbreaker 55w bulb upgrade (horn relocation to left top radiator)
- Aux Fog Lights: Rigid D2 floods in bumper, positioned to shine to the corners.
- Jumper’s LED Licence Plate, Reverse and 3’rd Brake bulbs
- Bussmann RTMR Fuse / Relay panel
- Rigid SR-Q Backup Kit (diffused) flush mount in rear bumper
Armor:
While this truck isn’t intended to go rock crawling or tackling truly technical trails, it is also important to protect the softer body panels with harder armored pieces. Up front the US OFF ROAD bumper also allowed for the installation of a 10k pound winch and additional lighting options. Both important pieces of solo back country equipment.
- Front Bumper: US OFF ROAD Winch Bumper with ENGO 10k synthetic
- Sliders: SOS Concepts bolt-on sliders, painted with Rustoleum Bedliner with satin black overlay coat.
- Rear Bumper: Brute Force Fab Standard Rear w/ flush mount lights
- Skids: RCI Aluminum IFS
Interior:
The truck hasn’t only seen changes and customization on the outside. Inside is where I spend more than a few hours of a trip getting to and from location. I’ve swapped out several of the interior white lights for red LEDs to preserve night vision while shooting astrophotography, they also draw far less off the battery than standard bulbs in case I forget to turn them off I’m not stranded with a dead battery. WeatherTech floor liners went in for obvious reasons of muddy boots are not only possible, but frequent after exploring for the best shots.
- Jumper’s LED dome & map lights (red LED map lights as of March ’17)
- ImMrYo mirror riser
- Auto-dimming mirror w/ compass and temp.
- WeatherTech floor liners
- OTRATTW Switches in Overhead for Aux Lighting and winch control
- Cobra 75 wx st CB
- OG Fab 2Gen Tacoma Center Console Molle Board
Misc:
A few things that really didn’t fit anywhere else above. The rear differential, a very important part of the drivetrain, comes stock with a small breather valve on the top of it. This can allow water to be introduced into the oil during deep water crossings, a very bad thing for the gears within. The door sill protectors are there for much the same reason as I added the WeatherTech floor mats, protecting the truck from whatever my boots may try to track in.
- Rear Diff Breather Relocation (behind tail light)
- G-Tek door sill protectors
- Toyota Tacoma bedmat
- Engine airpump filter mod

Sliders in paint 
Sliders installed 
rear bumper welds 
rear bumper installed 
switch panel 
Rag Fab rack and Basket 
4-gallon Rotopax 
hi-lift, shovel and ax 
center console panel 
all loaded up 
camp and photography loaded