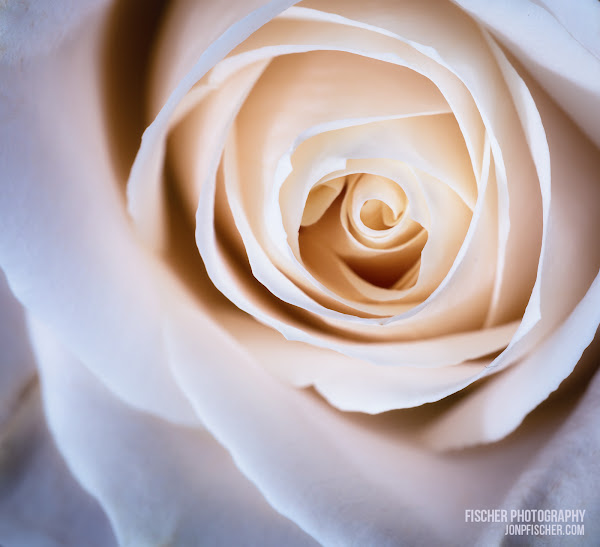
When life gives you lemons, you make lemonade. However,if those lemons of life come with roses to cheer you up, you bring out the macro lens and studio lights (or at least a flash or two) and take your mind off whatever it was that brought you down in the first place and try to focus on the beauty in the flowers. Such was the situation early in December last year, and while I’ll spare you the details of why my lovely wife was compelled to bring home a dozen roses, I was very thankful for the thought – and the opportunity to take a few photos while they were in peek condition.
| Date | Dec 8, 2015, 06:56:05 PM |
|---|---|
| Location | My dining room table – makeshift macro studio |
| Camera | Canon EOS 6D |
| Lens | Canon EF 100mm f/2.8 Macro USM |
| ISO | 100 |
| Exposure | 30 sec |
| Aperture | 10.0 |
| Focal Length | 100mm |
| Exposure Program | Aperture priority |
| File Id | _MG_1686 |
The Shot
With a dozen bright red roses to choose from, I was able to take my pick of the freshest and most pristine flowers to train my camera on. If there’s one thing that is going to show every flaw, it’s a macro lens. Almost regardless of what you aim it at, and what distance, the resolution of that lens is just simply exceptional. So finding the best flowers to work with was vital to speeding up the time spent trying to clean up the image without making it painfully obvious that there was blemishes removed. It’s a lot easier for Lightroom or Photoshop to blend out a spot when it’s in a slightly out of focus background area, but smack dab in the middle of high resolution detail, that’s still not guaranteed to work every time without some funky edges.
Setting the camera up on the tripod, and using Live View to dial in the composition that I wanted, and then zooming in to fine tune the focus on Manual to get just the parts I wanted in perfect focus. Even with the lens stopped down all the way to f/10, at the focal distance I was at there would be regions of soft focus and I wanted those to be towards the outside of the flower, with the center in perfect sharp detail. With the camera on a tripod, and the ambient light at a minimum, stopped down at f/10 and ISO100, even at 30 seconds, the photo was nearly completely black. But that was my goal. You see, at the time, I didn’t yet have remote triggers for my Speedlight 430EX II flash, so needed plenty of time to manually fire off the flash. Since then I’ve invested in a few Yongnuo wireless triggers, money well spent for portrait work when the subject isn’t able to sit perfectly still for 30 seconds when you dash around trying to fire off the flash, but I digress.
Unfortunately, since I fired off the flash manually, I don’t have the exact power of which I set the flash, but every situation is a little different, so that information isn’t really all that useful. If you’re looking to replicate a similar look, I suggest starting at 1/4 power and working up or down from there. To create the deep shadows seen in the image I ensured that I fired the flash at a position that was well to the side of the rose, keeping nearly all of the flash’s power from reaching down into the folds of the flower, just like you would on a portrait to ensure plenty of shadow and depth of the model’s face.
Processing
This shot was probably my favorite of the two dozen or more shots I took of various compositions and flash positions. I really was experimenting as I don’t do a lot of flash nor studio work of any sort – but the day was cold and my mood not suitable for going out, so it was an opportune time to experiment not only with the camera and lighting, but also back in front of the computer at the editing screen.
Starting out as I always do in Lightroom I started with my standard initial edits for lens correction, a bit of white balance correct, set the white point and black point in the basic panel (+21 and -12 respectively), leaving the exposure, contrast, hightlights, shadows, clarity and even the vibrance and saturation sliders completely untouched. In fact the only other Lightroom global adjustment I made was a minor post-crop vignette set at -10 to take a little brightness off the edges of the rose that caught a bit too much light from the flash. A radial filter was then added, centered on the center of the rose and expanding outward in a slightly egg shaped oval with exposure, clarity and shadow adjustment.


This was my starting point for what became at least five different final looks for this single photo. Few photos I have ever taken have ended up being steered in so many different directions that I felt were worthy finished looks. First I edited a color version on Photoshop. Utilizing techniques of duplicating the base layer and setting it to different blend modes with blurs and opacity modifications, I created more depth and drama to create the first finished version of the rose.

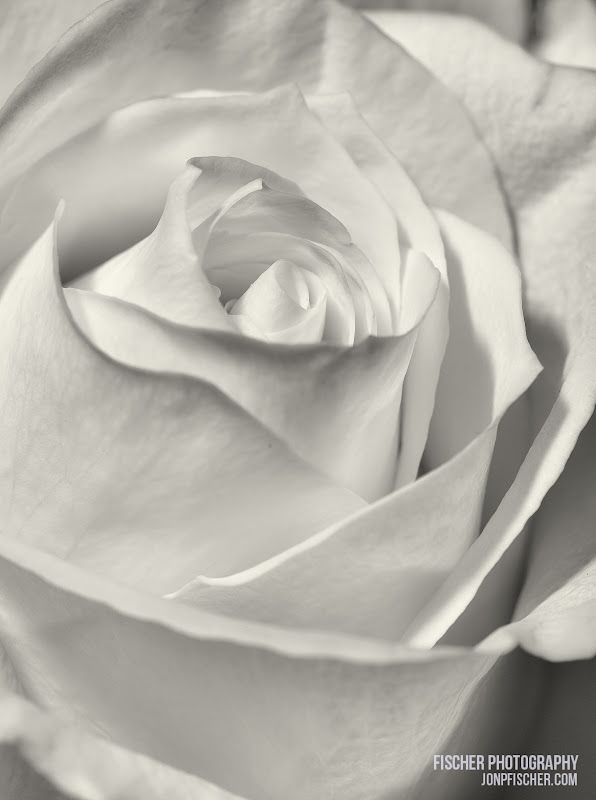
Having finished the color version, I started to see that the red tones, as often is the case with this color, was making it difficult to see and really feel the subtle yet complex texture that the 100mm Macro lens had been able to capture in the rose pedals. So back to the editing screen I went and into Nik Silver Efex 2 this time for a softer black and white edit.

Such a different look that the first, all from the same photo. Yet, I was far from done. If a red rose was expected, what might one not expect. There are roses of many colors, but blue? Certainly no one would expect a BLUE rose with deep dark tones and rich blue tones. So back into Nik Silver Efex I went for a second time. Keeping the feel and depth of the original red edit, I focused instead on the toning to create the Blue Rose.

At this point, I thought I was done. I was really happy with my triplet of roses. Red, B&W, and blue toned monochrome. Lots of different emotion in each. All from the same photograph. So I took the one I felt was the most unique and posted it online – the Blue Rose. The response was fantastic. So fantastic in fact that I was contacted by a friend of the family who was inspired seeing this photo with an idea of her own. She wanted a ‘mirror image’ set of this Blue Rose and an ‘inverse’ matching photo, both printed at 16×24. The idea was brilliant. I loved it. And as soon as I got home that evening I set to work creating two options for this inverse mirror version. First, of course anything that was black would become white. And the left would be mirrored to right. But what about the color? would we invert the color too? The complimentary color of blue of course is orange, and this blue actually has a slightly green tint to it, so you could actually bend the inverse almost back to red – where we started at in the first place. I created both versions and let the client decide. Ultimately we printed the blue pair.


And thus ended the journey of the studio rose processing. Proving, at least to myself, that you never know where a photo might take you.
If you too would like a print of any of these photos or any of my work, nearly everything in my portfolio and archives can be ordered for print.
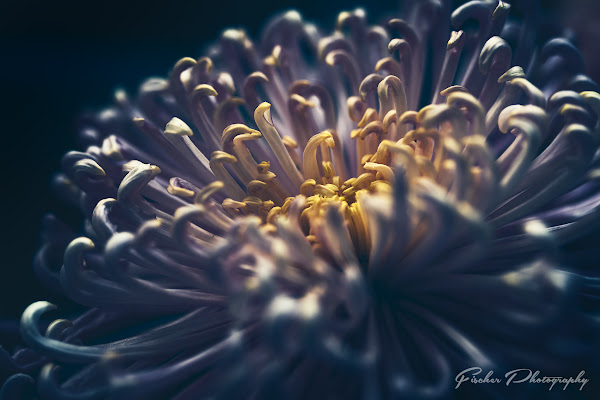
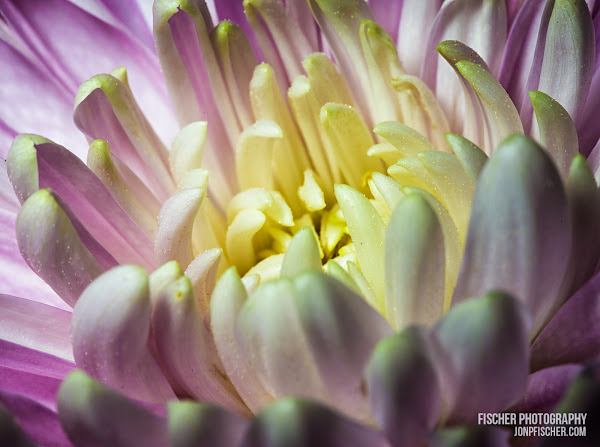
More Floral Macro Photography